
Whether you’re refurbishing a metal object and trying to bring it back to its old, glorious look, or you’re working on new materials for a project, it’s best to know how to do it properly. In painting metal, there are a few things you should do first.
Why Prepping is Essential
But why prepare the metal? Couldn’t you re-paint it?
Unfortunately, even new metal objects have impurities (rusts and dirt) that could make a painting job difficult. Not only that, even sophisticated painting technologies will fail. The paint might stick to the surface, but it won’t look good and will probably peel off after a few days.
You’ll be wasting your money, effort, and time when doing a painting job on an unprepped metal surface.
How to Prep Metal
That said, here are the most critical steps you need to do before a painting job.
-
Cleaning
Cleaning is essential if you’re refurbishing a metal object. There surely are rusts, paint, and grease that you need to remove, so the paint adheres to the surface.
However, many overlook this step when working with new metal materials. They think the metal is clean. But even new metals have impurities, and you need to clean them properly to prep them for a paint job.
You can find professional sandblasting companies in your area to help with the job.
Sandblasting is an effective way of removing all impurities from the metal’s surface. It guarantees a better and even surface for the best paint job.
If you prefer to do it at home, you can use solvents like acetone to clean the metal. If you see rusts, you can also use a rust remover that you can buy on any home depot.
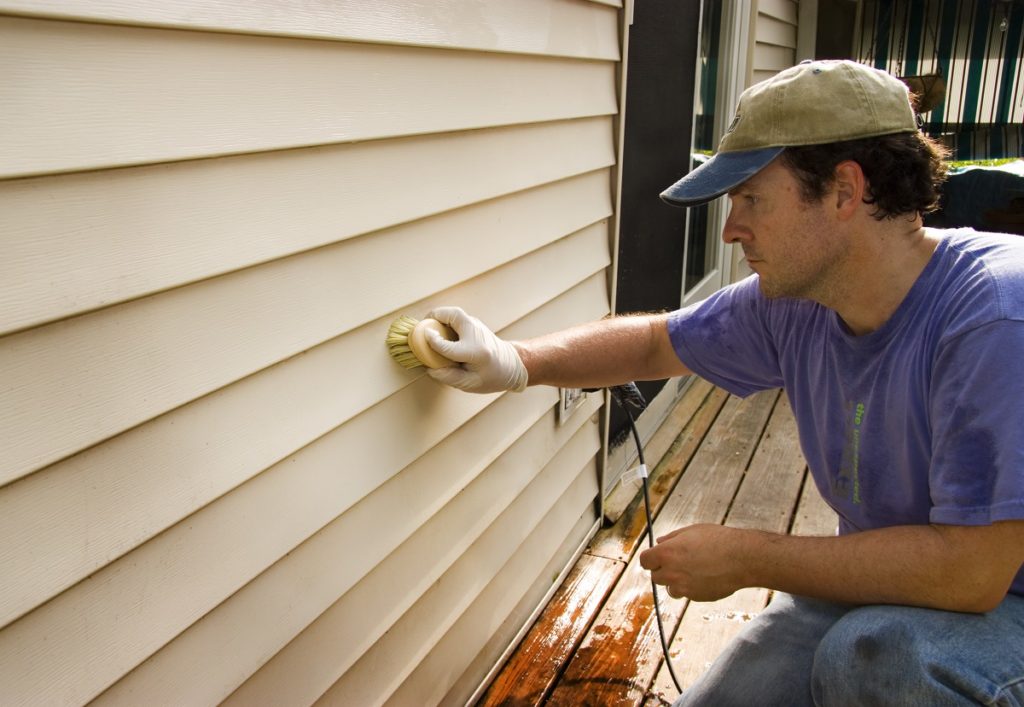
After having it cleaned, it’s best to wear gloves when handling the metal. Oil from your hands can stick to the metal surface, making it dirty once again.
-
Scuffing Pad
When your metal is cleaned, you’ll want to get a scuffing pad and rub it on the areas where the paint will go. The scuffing pad can further remove any impurities and evens out the surface. This step helps ensure the primer you’ll use will stick to the metal even better.
-
Primer
After scuffing the area, you can now move on to priming the area where the paint goes. Make sure the place has good ventilation, plus you’re wearing the proper protective gear.
Priming is perhaps the most essential part. It creates a foundation that can bond the paint. It’s even more important if the area is exposed to moisture.
There are different primers available. It will help if you choose the right one depending on the appearance you want to achieve, and the environmental conditions and the performance requirements of your project.
Once you’ve chosen the right primer, read the instructions carefully on how to use it. Then apply the coat needed, although two layers should be enough for most of the time.
Painting a metal object or surface shouldn’t be tough. All you really need to do is to prep your material well for the best results.